⏱ 7 min read
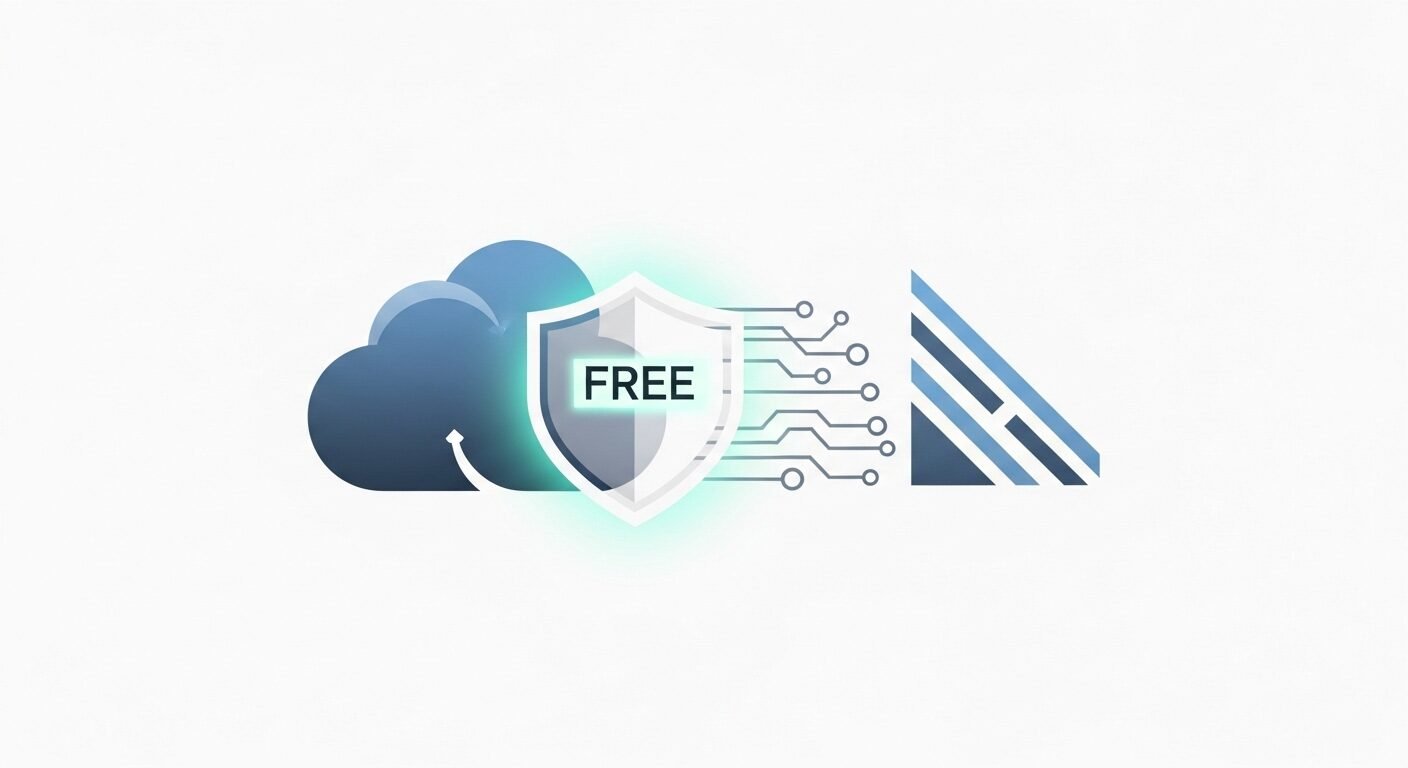
Implementing a Web Application Firewall (WAF) is a critical security measure for any website owner. This guide provides a complete, actionable walkthrough for configuring the free tier of the Cloudflare WAF to protect your site from common online threats like SQL injection, cross-site scripting, and malicious bots. You will learn how to activate core security features, customize firewall rules, and monitor traffic without any financial investment, significantly enhancing your site’s defensive posture according to standard cybersecurity frameworks.

Key Takeaways
- The Cloudflare free plan includes a powerful Web Application Firewall (WAF).
- Initial setup requires adding your site to Cloudflare and updating nameservers.
- Core managed rulesets protect against OWASP Top 10 vulnerabilities.
- Custom firewall rules allow for tailored security policies.
- Regular monitoring of security events is essential for ongoing protection.
- The free WAF provides a foundational security layer suitable for most small to medium sites.
What is the Cloudflare WAF and Why Use It?
The Cloudflare Web Application Firewall (WAF) is a security service that sits between your website and the internet, filtering and monitoring HTTP traffic. It blocks common web exploits like SQL injection and cross-site scripting (XSS) by analyzing requests against a set of managed and customizable rules, providing a critical layer of protection for your web applications.
A Web Application Firewall is essential for modern website security. The Cloudflare WAF inspects incoming web traffic and blocks requests that match known attack patterns. Using a WAF is considered a fundamental security practice, as it acts as a shield against automated and targeted attacks. Experts in the field recommend implementing a WAF as part of a defense-in-depth strategy.
Research shows that web application attacks are a leading cause of data breaches. The free Cloudflare WAF provides a robust starting point. It helps mitigate risks associated with the OWASP Top Ten, a standard awareness document for developers and security professionals. This makes it a valuable tool for website owners seeking proactive threat mitigation.
How Do You Prepare Your Website for Cloudflare?
You must first add your domain to the Cloudflare platform. This process involves creating a Cloudflare account and initiating domain onboarding. The standard approach is to enter your website’s domain name in the Cloudflare dashboard’s “Add a Site” section.
Cloudflare will then scan for your existing DNS records. It is crucial to verify that all essential records, like A, CNAME, and MX records, are correctly imported. Once confirmed, you will receive new nameserver addresses. Updating your domain’s nameservers at your registrar is the critical step that activates Cloudflare’s proxy and security services.
This change can take up to 24 hours to propagate globally. During this transition, your site remains accessible. Planning this update during low-traffic periods is a common best practice. The team at Web Firewall Online notes that proper DNS configuration ensures a smooth security integration.
What Are the Steps to Configure the Free WAF?
- Access the Security WAF Section: Log into your Cloudflare dashboard. Navigate to the “Security” tab and select “WAF” from the menu. This is the central hub for all firewall configurations.
- Enable Managed Rulesets: Locate the “Managed Rules” section. For the free plan, ensure the “Cloudflare Managed Ruleset” is turned on. This provides baseline protection against a wide array of common threats.
- Review OWASP Rules: Scroll to the OWASP ModSecurity Core Rule Set. Toggle it to “On.” You can start with the default paranoia level, which balances security and false positives for most websites.
- Click on “Firewall rules” to create custom logic. Here you can build rules to block, challenge, or allow traffic based on IP, country, user agent, or other request attributes.
- After configuration, visit your site to ensure it loads correctly. Use a security header checker or a simple vulnerability scanner to confirm the WAF is actively inspecting traffic.
Following these steps establishes your primary defensive layer. The managed rules are updated automatically by Cloudflare, reducing maintenance overhead. Custom rules allow you to address specific threats relevant to your application.
How Do Managed Rules and Custom Rules Work?
Managed rules are pre-configured security policies maintained by Cloudflare. They protect against known vulnerabilities without requiring manual updates. The free plan includes essential managed rulesets that target high-severity threats.
Custom firewall rules give you granular control. You can create rules using Cloudflare’s expression editor. For example, you could block traffic from a specific country or challenge requests from suspicious user agents. Custom rules are powerful for tailoring security to your site’s unique traffic patterns and threat model.
A common strategy is to use managed rules for broad protection and add custom rules for specific scenarios. According to industry data, a layered rule approach significantly reduces successful attack vectors. Always test new custom rules in “Log” mode first to observe their impact.
| Feature | Managed Rules | Custom Rules |
|---|---|---|
| Configuration | Pre-built by Cloudflare | Built by you |
| Maintenance | Automatic updates | Manual updates required |
| Best For | Common, known exploits | Site-specific threats & logic |
| Free Plan Access | Core rulesets included | Up to 5 rules |
What Security Settings Should You Enable?
Beyond the WAF, Cloudflare’s free plan includes complementary security features. Under the “Security” settings, enable “Security Level.” This sets a global challenge rate for suspicious visitors. A medium setting is a good default.
The “Bot Fight Mode” is a valuable free tool. It identifies and blocks simple, automated bot traffic that can scrape content or attempt credential stuffing. Enabling Bot Fight Mode can drastically reduce low-level automated abuse. It works in tandem with your WAF rules.
Also, review the “DDoS” protection settings. While advanced features are paid, the free tier includes unmetered mitigation for layer 3/4 attacks. These settings create a comprehensive security posture. Experts recommend enabling these features immediately after WAF configuration.
How Do You Monitor and Maintain Your WAF?
Regular monitoring is key to effective security. Visit the “Security Events” tab in the Analytics dashboard. This shows requests blocked or challenged by your WAF and other security features. Reviewing these logs helps you understand attack patterns.
If you notice legitimate traffic being blocked, you can create allow rules or adjust the sensitivity of managed rules. Monitoring allows you to fine-tune your configuration, minimizing false positives while maintaining strong protection. Check these logs weekly for optimal results.
Maintenance involves periodically reviewing your custom rules and the status of managed rulesets. Cloudflare updates managed rules automatically, but you should confirm they remain enabled. Security is an ongoing process, not a one-time setup.
Is the Cloudflare free WAF sufficient for an e-commerce site?
The free Cloudflare WAF provides strong foundational security against common web exploits. For a low-to-moderate traffic e-commerce site, it can be a highly effective component of your security strategy. However, for high-value stores, consider supplementing it with additional security monitoring and potentially a paid WAF plan for more advanced features.
How long does it take for WAF rules to become active?
WAF
3 thoughts on “A Step-by-Step Guide to Setting Up a Free Cloudflare WAF”